Bahmni VirtualBox
소개
Windows, Linux, Mac 어느 환경에서든 이 절차로 테스트 또는 개발용 Bahmni를 실행할 수 있습니다. 운영 환경에는 권장하지 않습니다. CentOS와 필요한 소프트웨어가 사전 설치된 Bahmni 가상(Vagrant) Box를 내려받아 사용합니다. 실행하려면 VirtualBox, Vagrant, Git이 필요합니다. Vagrant Box가 실행되면 Box 안의 파일을 수정하고 결과를 즉시 확인할 수 있습니다. 호스트 OS에서 코드를 수정하고 다시 컴파일해 Vagrant Box에 배포하려면 별도의 개발 환경 설정이 필요합니다.
컴퓨터에 Bahmni VM을 설정하는 절차
1단계: 컴퓨터에 Git, VirtualBox, Vagrant 설치
- Git: http://git-scm.com/book/en/v2/Getting-Started-Installing-Git
- VirtualBox: https://www.virtualbox.org/wiki/Downloads
- Vagrant: https://www.vagrantup.com/downloads.html (Vagrant 1.7 이상을 설치하십시오. 권장 버전은 2.0.2입니다.)
2단계: 프로젝트 파일을 둘 bahmni 폴더 만들기
3단계: 새 bahmni 폴더 안에 다음 GitHub 프로젝트 복제
cd bahmni
git clone https://github.com/Bahmni/bahmni-vagrant.git
4단계: bahmni-vagrant 디렉터리에서 "vagrant up" 실행
이 명령은 인터넷에서 CentOS Vagrant Box를 내려받아 컴퓨터에 설치합니다. 'vagrant box list' 명령으로 로컬에 설치된 Box 목록을 볼 수 있습니다.
cd bahmni-vagrant

# Make sure that the command prompt is running "As Administrator" otherwise the next command vagrant up will hang on 'Clearing any previously set network interfaces'.
#This command will download the Vagrant box from Atlas first time. Next time onwards, the already downloaded vagrant box will be used.
# The download box size is about 2.5 GB. Please ensure you have a good and stable internet connection to download the box. Usually vagrant will continue download from where it got disconnected.

vagrant up5단계: Bahmni 실행 확인 및 아래 링크 접속
| Application | Link | Credentials | Screenshot |
|---|---|---|---|
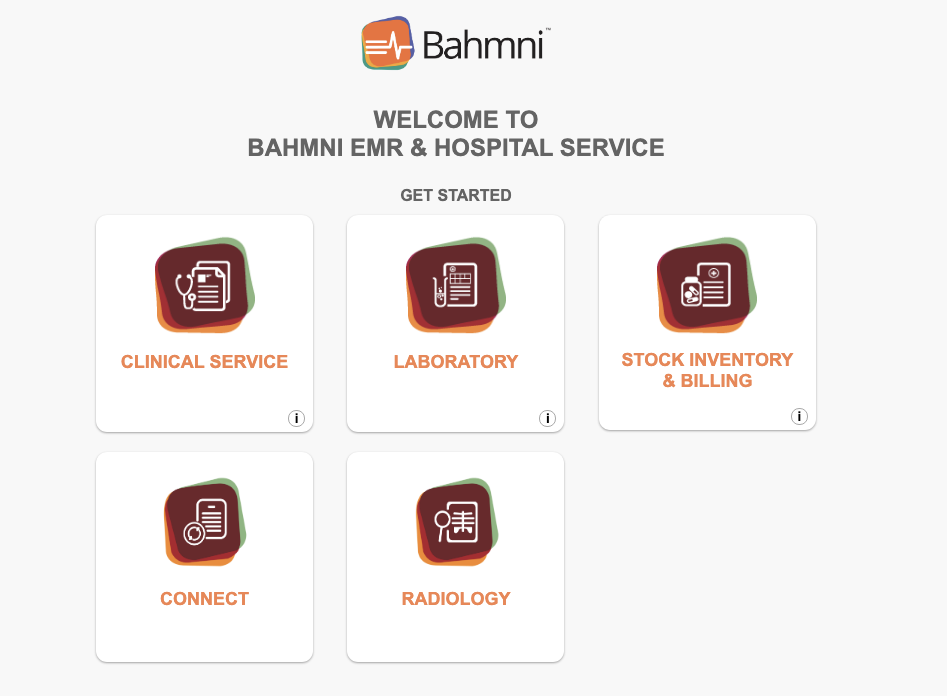
| Bahmni Home Landing Page | https://192.168.33.10/ | - | |
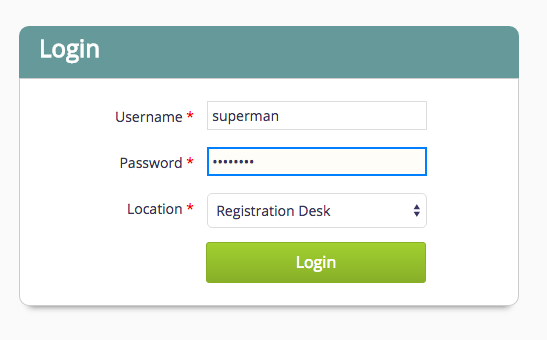
| Bahmni EMR & Clinical UI | https://192.168.33.10/home | superman/Admin123 | |
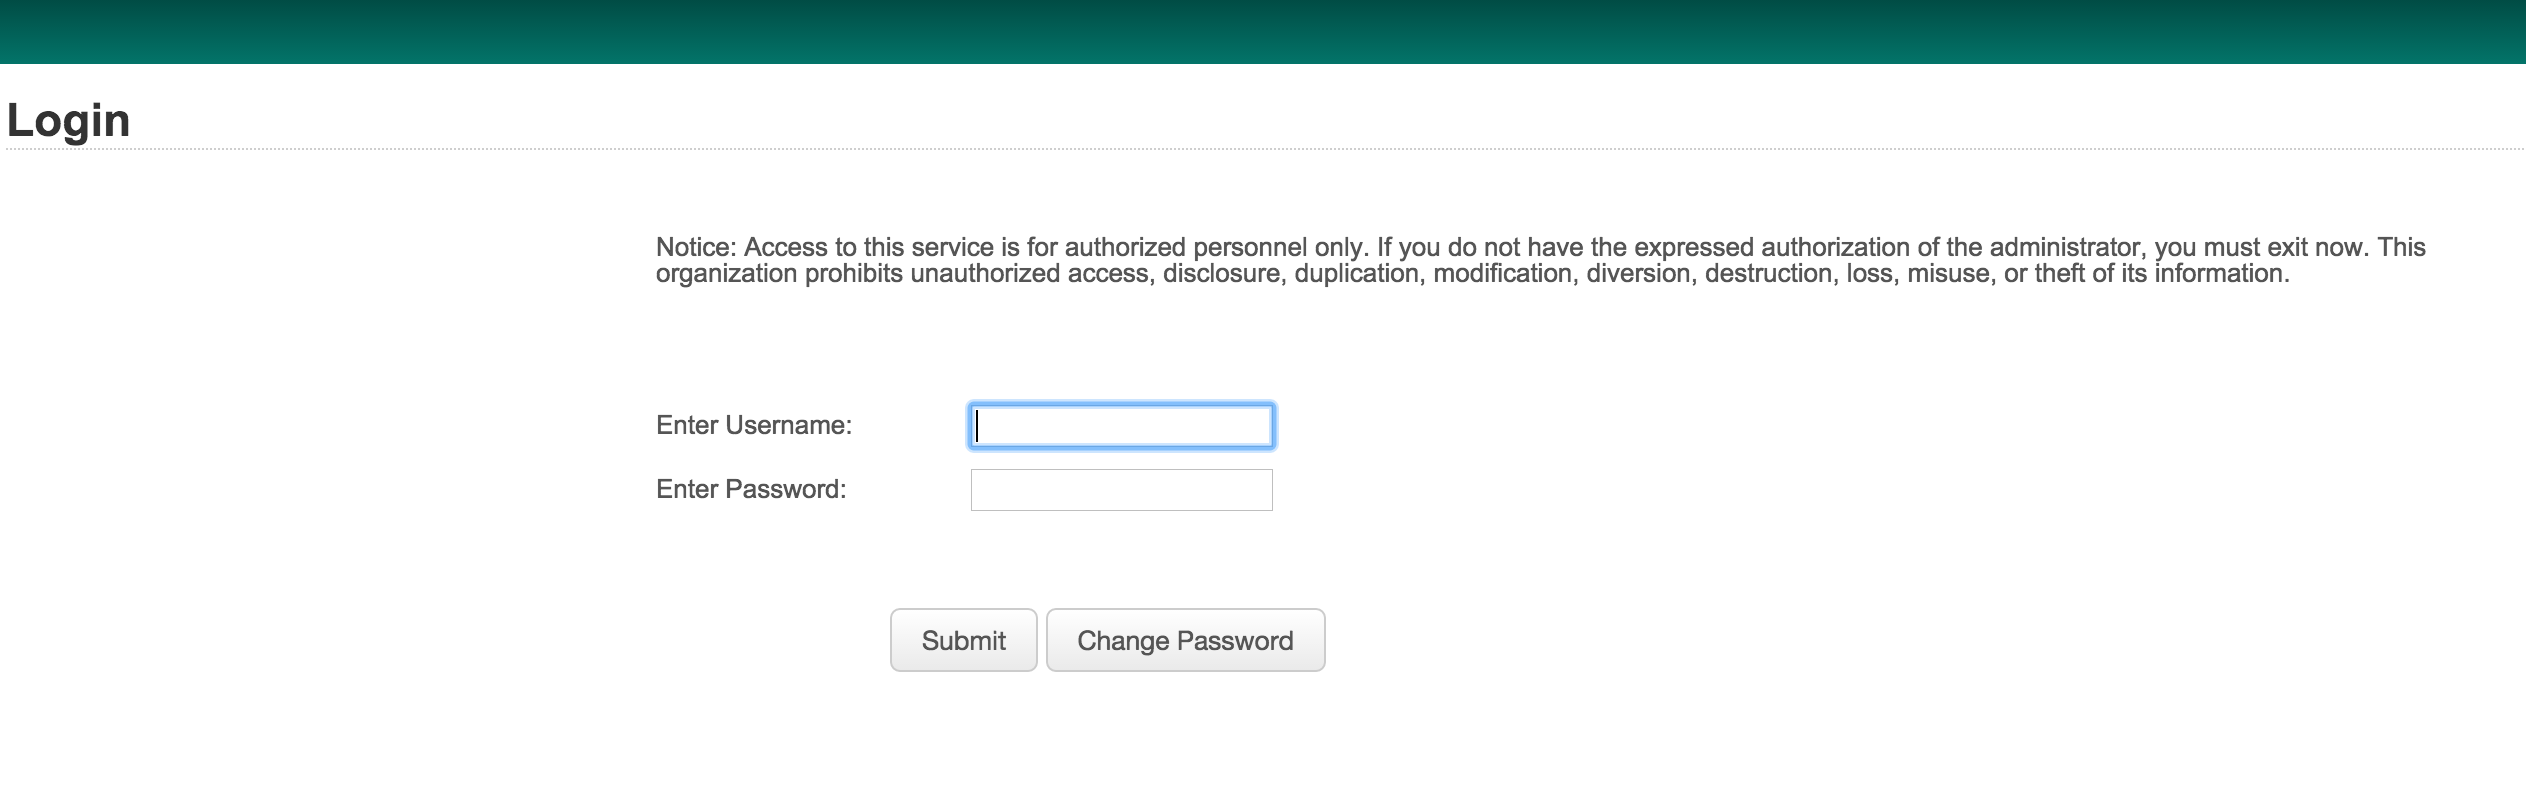
| Lab System (OpenELIS) | http://192.168.33.10/openelis | admin/adminADMIN! | |
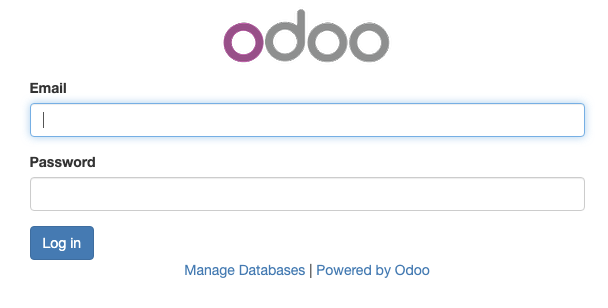
| ERP System (Odoo) - Billing and Inventory | http://192.168.33.10:8069/ | admin/adminNote: On v0.91 this would go to OpenERP whose credentials are: admin/password (Choose Database "openerp" in top right corner). | |
| OpenMRS - | https://192.168.33.10/openmrs/ | superman/Admin123 |
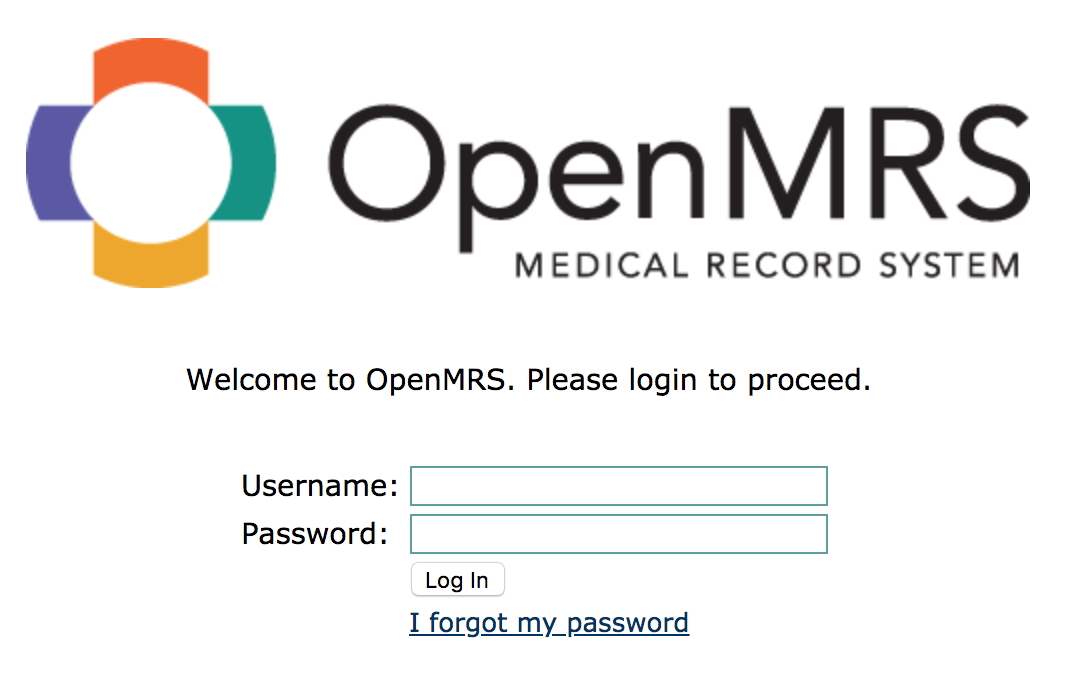
6단계: "vagrant halt"로 VM 중지
cd bahmni-vagrant
vagrant halt
# Use 'vagrant up' next time, to restart the box.
Bahmni Vagrant Box 내부에서 작업하기
Vagrant Box 시작 및 중지
Vagrant Box를 최신 버전으로 업데이트
컴퓨터에 Bahmni Vagrant Box가 이미 있고 최신 배포 Box로 업데이트하려면 다음 절차를 수행하십시오.
Vagrant Box 전송
Vagrant Box를 다른 컴퓨터로 전송
현재 컴퓨터의 Vagrant Box를 다른 컴퓨터로 그대로 전송할 수 있으며 다음과 같은 장점이 있습니다.
- 현재 Vagrant Box에 설정한 데이터를 다른 Box/컴퓨터에서도 사용할 수 있습니다.
- 대상 컴퓨터의 인터넷이 느려도 컴퓨터 간 전송으로 대역폭을 절약할 수 있습니다.
- 전체 Box를 다시 내려받는 것보다 빠릅니다.
수행 절차:
- 참조 Box 만들기: 명령을 사용해 현재 Box의 모든 내용을 새 Vagrant Box로 패키징합니다.
# Execute these commands from the same folder where your vagrant box is kept. # Halt vagrant vagrant halt # Create a new .box. This will create a package.box file vagrant package - 대상 컴퓨터에서 Box 사용: 새 컴퓨터에 "D:/my-bahmni-vagrant" 같은 폴더를 만들고, 현재 컴퓨터의 "package.box"와 "Vagrantfile"을 복사합니다. Vagrantfile을 필요한 대로 수정한 뒤 저장하고 "vagrant up"을 실행합니다.
# Change this value as below
config.vm.box = "my-bahmni-box"

# Add this line to point the url to the package.box
config.vm.box_url = "file:///d:/my-bahmni-vagrant/package.box"
이제 새 컴퓨터에서 Vagrant Box가 실행됩니다. package.box를 다른 컴퓨터의 참조 파일로 사용해 같은 절차를 반복할 수 있습니다.
Vagrant/VM Box 이미지로 AWS 컴퓨터 설정
관련 문서를 읽으십시오.
Vagrant Box 직접 다운로드
"vagrant up" 명령으로 Box를 받을 수 없다면 다른 다운로드 도구로 다음 링크에서 직접 받을 수 있습니다.
v0.93.2: https://app.vagrantup.com/bahmni-team/boxes/bahmni/versions/0.93.2/providers/virtualbox.box
v0.93.1: https://app.vagrantup.com/bahmni-team/boxes/bahmni/versions/0.93.1/providers/virtualbox.box
다운로드 후 Box 이름을 "package.box"로 바꿉니다. Box를 "bahmni-vagrant" 폴더에 놓고 아래와 같이 Vagrant 파일을 수정합니다.
# Change this value as below
config.vm.box = "my-bahmni-box"

# Add this line to point the url to the package.box
config.vm.box_url = "file:///d:/my-bahmni-vagrant/package.box"
Vagrantfile을 저장한 다음 "vagrant up" 명령을 실행합니다.
Bahmni v0.89부터 Bahmni VirtualBox에는 oh-my-zsh 셸과 Git이 설치되어 있어 처음 사용하는 사람도 Vagrant Box 내부를 쉽게 탐색할 수 있습니다. 자세한 내용은 관련 PR을 확인하십시오.
하위 문서
Bahmni Wiki · CC BY-SA 4.0